
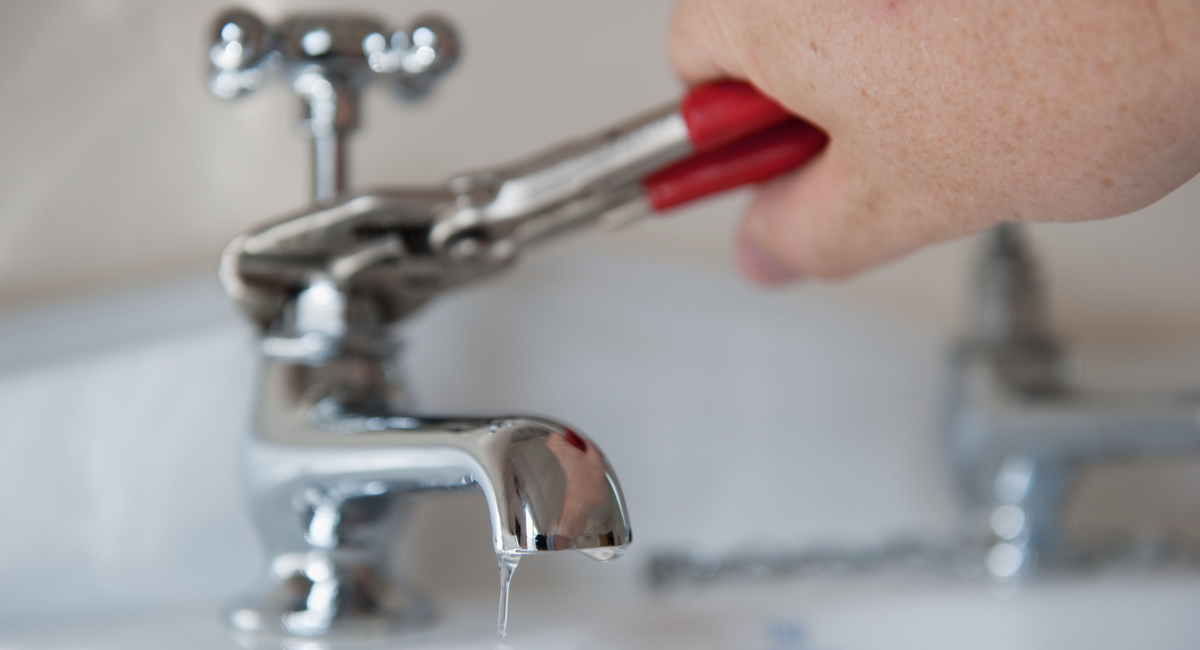
A dripping bath tub faucet is more than just a nuisance, it’s a common household issue that can lead to wasted water, higher utility bills, and even long-term damage to your bathroom fixtures. Learning how to fix a leaky bath tub faucet is an essential skill for homeowners who want to save money, maintain a functional bathroom, and prevent unnecessary water waste.
Leaks not only increase water bills but can also damage walls, tiles, and flooring if left untreated. Over time, persistent leaks contribute to mold and mildew growth, which can pose health risks and require expensive remediation. By understanding the type of faucet in your bathroom, recognizing the causes of leaks, and learning step-by-step repair techniques, you can address leaks quickly and effectively.
Additionally, routine faucet maintenance is an excellent way to prolong the lifespan of your plumbing fixtures. This guide will cover everything from identifying your faucet type to preventive strategies, making it a complete resource for homeowners.
Table of Contents
1. Identify Your Faucet Type for Accurate Repairs
Before attempting any repair, it’s crucial to identify the type of bath tub faucet installed. Faucets are generally divided into four main types:
- Compression Faucets: Traditional faucets with separate handles for hot and cold water. These are prone to washer wear over time.
- Ball Faucets: Single-handle faucets with a ball-shaped mechanism controlling water flow. Often found in older bathrooms.
- Cartridge Faucets: Use a cartridge to regulate the flow of water and temperature. Easier to repair and replace.
- Disc Faucets: Modern faucets with ceramic disc valves, known for durability and smooth operation.
Knowing your faucet type ensures you select the correct parts and follow the appropriate repair procedures. Semantic terms like bathroom faucet repair, plumbing maintenance, and stop faucet leaks should naturally appear throughout your content for better SEO.
2. Turn Off the Water Supply Safely
Shutting off the water supply is a critical first step. Attempting repairs without turning off water can cause flooding and serious damage. Shutoff valves are usually located beneath the sink, behind a panel near the bathtub, or at the main water supply. After turning off the water, open the faucet to drain any remaining water in the pipes.
3. Assemble the Right Tools and Materials
Having the right tools makes repair work faster and ensures a successful fix. Typical tools and materials include:
- Adjustable wrench
- Screwdrivers (flathead and Phillips)
- Replacement washers, O-rings, or cartridges
- Plumber’s tape (Teflon tape)
- Cleaning cloths
- Vinegar or descaling solution
Using high-quality replacement parts is essential for durability and long-term leak prevention.
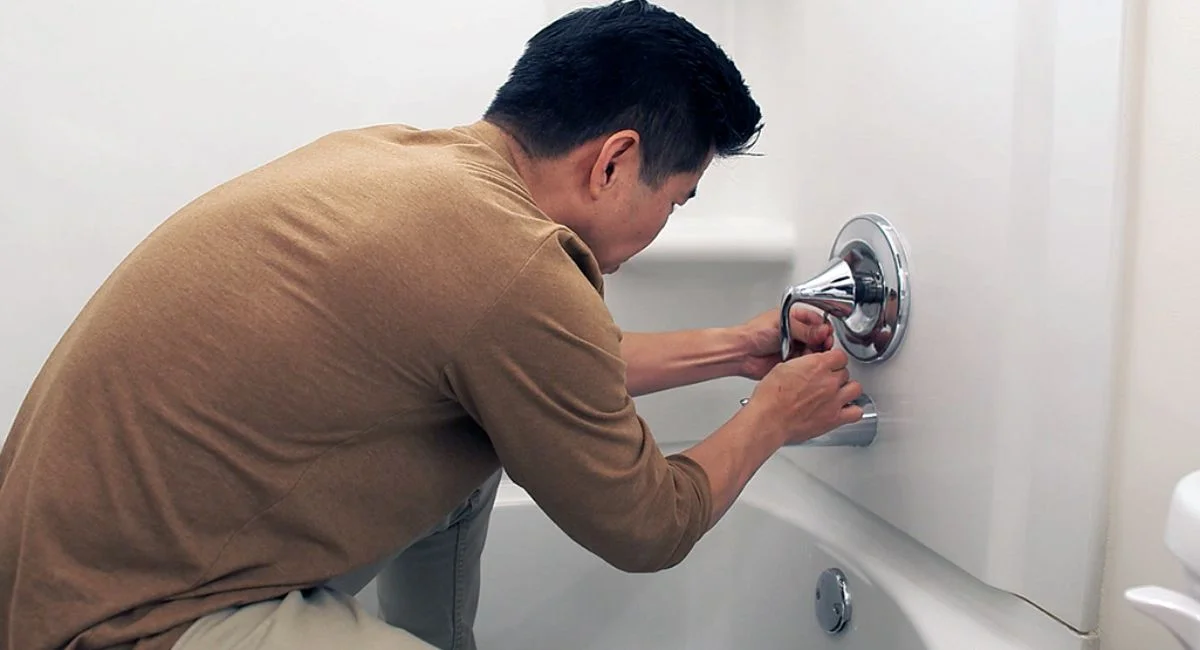
4. Remove the Faucet Handle Carefully
To access the internal components of the faucet:
- Locate the screw holding the handle, often hidden under a decorative cap.
- Use the proper screwdriver or Allen key to remove it.
- Slowly remove the handle from the faucet body by pulling it away.
Removing the handle exposes the valve, washer, or cartridge, allowing you to inspect for wear, corrosion, or mineral buildup.
5. Inspect and Replace Washers, O-Rings, or Cartridges
A leaky faucet is most commonly caused by worn washers or cartridges. Here’s how to handle it:
- Compression Faucets: Check the rubber washer inside the valve. Replace if cracked or flattened.
- Cartridge Faucets: Remove and inspect the cartridge for damage or wear. Replace if necessary.
- O-Rings: Worn O-rings around the stem can also cause leaks; replace if damaged.
Always take the old part to the store to ensure you purchase the correct replacement. High-quality parts ensure a longer-lasting fix.
6. Clean Mineral Deposits and Sediment
Mineral buildup and debris can prevent proper sealing and contribute to leaks. To clean:
- Soak removed parts in a vinegar solution for 30–60 minutes.
- Use a soft brush to remove stubborn deposits.
- Rinse thoroughly and dry before reassembling.
Regular cleaning reduces the risk of leaks, improves water flow, and extends faucet life. Keywords like plumbing DIY, bathroom fixture care, and preventing water leaks are relevant here.
7. Reassemble the Faucet and Test for Leaks
After replacing parts and cleaning components:
- Reattach the faucet handle and secure screws.
- Turn the water supply back on gradually.
- Test the faucet carefully, checking for leaks around the spout and handle.
If the leak persists, there may be a deeper issue with the valve seat or internal plumbing. Consulting a professional plumber may be necessary in such cases.
8. Troubleshooting Persistent Leaks
Sometimes, a faucet may continue to drip even after replacing washers or cartridges. Common causes include:
- Damaged valve seats
- Cracked faucet body
- Incorrect installation of replacement parts
In these cases, a professional plumber can inspect and replace damaged components to ensure a long-lasting solution.
9. Preventive Maintenance Tips
Routine maintenance can prevent leaks and prolong faucet life:
- Inspect Faucets Regularly: Check for early signs of wear every 6–12 months.
- Use Quality Parts: Avoid cheap replacements that fail quickly.
- Avoid Over-Tightening: Excessive force can damage valves and washers.
- Install a Water Softener: Hard water accelerates mineral buildup.
- Prompt Repairs: Address leaks immediately to prevent bigger plumbing problems.
10. Eco-Friendly Benefits of Fixing Faucet Leaks
Repairing a leaky faucet isn’t just good for your wallet it’s good for the environment. Even a slow drip wastes gallons of water each month. Fixing leaks helps:
- Conserve water
- Reduce energy bills (hot water savings)
- Prevent water damage and mold growth
- Promote sustainable living
Including these eco-friendly aspects adds authority and value for readers interested in sustainability.
Final Thoughts
Fixing a leaky bath tub faucet is not just a small DIY task, it’s an important step toward saving water, reducing utility bills, and protecting your bathroom from potential damage. With the right tools, high-quality replacement parts, and a little patience, most homeowners can tackle this repair themselves without calling a plumber.
Regular maintenance and timely repairs can extend the life of your faucets and prevent leaks from turning into bigger plumbing problems. Remember, even a slow drip wastes gallons of water over time, so addressing it promptly is both cost-effective and eco-friendly. By following the steps outlined in this guide, from identifying your faucet type to replacing washers, cartridges, or O-rings, you can enjoy a leak-free bathroom and peace of mind.
Whether you’re a seasoned DIY enthusiast or a first-time fixer, understanding the causes of faucet leaks and taking proactive measures is key. Take action today, stop that drip, and maintain a more efficient, functional, and water-smart bathroom.
FAQs
1. How long does it take to fix a bath tub faucet leak?
Simple repairs, like replacing washers, take 15 to 30 minutes. Cartridge or disc replacements may take 30 to 60 minutes.
2. Can I fix a faucet leak without turning off water?
No. Shutting off water is essential to prevent flooding and damage.
3. Why does my faucet leak repeatedly?
Common causes include worn washers, faulty cartridges, mineral buildup, or improper installation.
4. How much does DIY faucet repair cost?
Replacement parts usually cost $10-$50. Professional repairs range from $100-$200 depending on complexity.
5. How can I prevent future leaks?
Regular cleaning, quality parts, proper installation, avoiding over-tightening, and installing a water softener help prevent leaks.