
A leak under the kitchen sink is one of the most common problems homeowners face, and yet it often goes unnoticed until there’s a puddle, a bad smell, or visible damage inside your cabinet. Whether it’s a slow drip or a sudden burst, a leak under the kitchen sink can lead to mold growth, wood rot, damaged plumbing lines, and even pests if not addressed quickly. Most homeowners panic when they see water collecting below the sink, but the good news is that most leaks can be fixed without hiring an expensive professional if you know where to look and what steps to take.
In many homes, a leak under the kitchen sink comes from simple issues like a loose connection, worn-out washer, cracked pipe, clogged drain, or faulty seal. Ignoring the problem may seem tempting, but even a small drip can waste gallons of water and silently damage your kitchen. This detailed guide breaks down the causes, solutions, and long-term prevention strategies so you can confidently diagnose and repair the issue yourself. With practical tips, step-by-step instructions, and clear troubleshooting guidance, you’ll be able to stop the leak fast and prevent future plumbing headaches.
Table of Contents
1. Common Causes to Check First
These are the first areas you should inspect when trying to trace the source of moisture inside your kitchen sink cabinet.
Loose Water Supply Connections
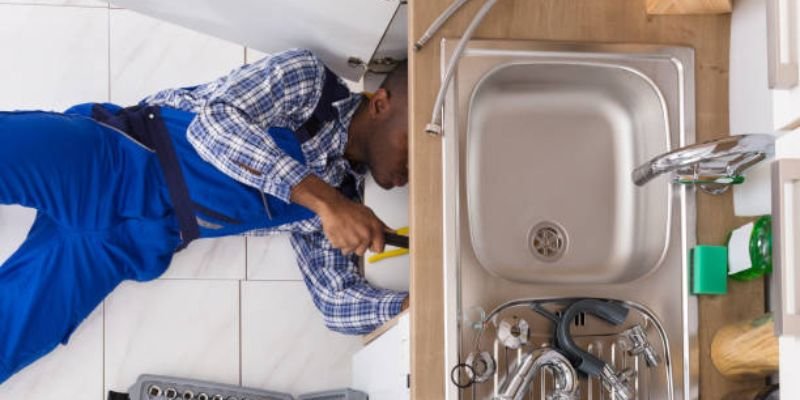
One of the most frequent reasons for a leak under the kitchen sink is a loose or improperly tightened water supply connection. These lines connect your faucet to hot and cold water valves. Over time, vibrations and regular usage can cause the nuts to loosen. A simple tightening with a wrench often solves the issue.
Damaged P-Trap
A P-trap is simply the curved pipe underneath your sink that holds water in order to keep bad smells from the sewer coming into your house.
A damaged, cracked, or misaligned P-trap can easily cause a leak under the kitchen sink. Plastic traps can warp due to heat or pressure, while metal traps can corrode. Replacing the P-trap is an easy DIY fix.
Worn-Out Washers or O-Rings
Faucet bases, spray hoses, and valves rely on rubber washers and O-rings to create watertight seals. Over time, these parts wear out, leading to drips and leaks below the sink. If you notice water around the faucet base or inside the cabinet, inspect the rubber components first.
2. Step-by-Step Guide to Fixing the Problem
Follow these practical steps in order to quickly identify the leak source and fix it with simple, effective DIY methods.
Step 1: Clear Out the Cabinet
Before tackling a leak under the kitchen sink, remove all stored items. This gives you space to work and helps you clearly trace where the moisture is coming from.
Step 2: Identify the Water Source
Use a dry cloth and paper towels to wipe down all surfaces. Then, run the faucet or turn on the garbage disposal. Observe carefully, where does the first drop appear? Is it from the drain, supply line, faucet base, garbage disposal, or dishwasher line?
Step 3 : Tighten All Connections
Using a wrench or pliers, gently tighten:
- Water supply nuts
- P-trap slip nuts
- Dishwasher drain connection
- Faucet mounting nut
Make sure you don’t overtighten as it may cause plastic fittings to crack.
Step 4: Replace Worn Out Seals
If tightening doesn’t stop the leak under the kitchen sink, the next step is checking rubber seals. Replace washers, O-rings, or gasket rings on faucet bases, spray hoses, and drain assemblies. These inexpensive parts often solve the problem instantly.
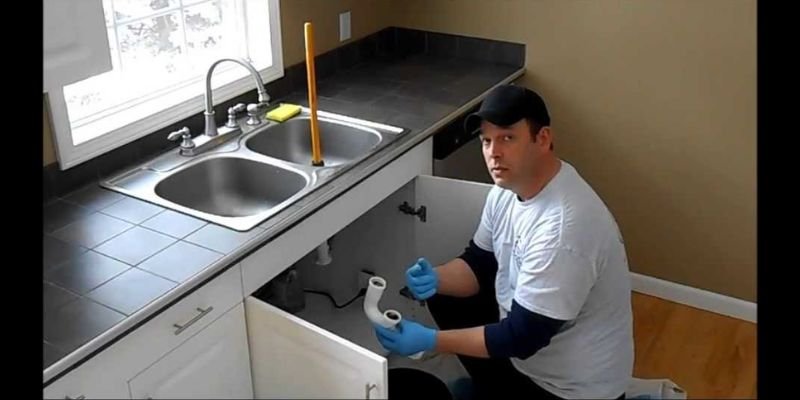
Step 5: Repair or Replace the P-Trap
If the P-trap is cracked or corroded, replace it. Most new P-traps come with universal fittings and cost very little. Be sure to use plumber’s tape to ensure a tight seal.
Step 6: Check the Garbage Disposal
A faulty garbage disposal can also cause a leak under the kitchen sink, especially around the mounting ring, dishwasher inlet hose, or bottom casing. If the disposal unit is leaking from the bottom, replacement is usually the only solution.
Step 7: Fix the Drain Flange Seal
The drain flange connects your sink to the drain assembly. Old plumber’s putty can dry out, causing leaks. Remove the drain flange, apply new plumber’s putty or silicone sealant, and reinstall.
3. Deep Cleaning and Mold Prevention After Repair
Once the leak is fixed, proper drying and cleaning are essential to prevent mold, bad odors, and long-term cabinet damage.
Dry the Cabinet Thoroughly
After fixing the leak under the kitchen sink, leave the cabinet doors open with a fan or dehumidifier running to eliminate moisture. This prevents mold growth and keeps odors away.
Replace Damaged Cabinet Boards
If the wood has swollen or developed mold, it’s important to replace it. Leaving wet wood encourages rot and future infestations.
Add a Leak Detection Mat
To prevent future surprises, install a leak detection mat or sensor alarm under your sink. It alerts you when moisture returns.
4. Long-Term Prevention Tips
These maintenance habits will help you avoid future leaks and keep your kitchen plumbing in reliable condition for years.
Inspect Monthly
A quick monthly inspection can help you catch a small leak under the kitchen sink before it becomes a major issue. Check for condensation, loose fittings, or dampness.
Avoid Overloading the Cabinet
Heavy items can bump pipes or strain fittings. Keep the area tidy and avoid placing tall bottles against your plumbing.
Use High-Quality Plumbing Parts
Cheap plastic fittings wear out faster. Use durable materials like PVC, brass, or stainless steel.
Don’t Pour Grease Down the Drain
Grease hardens in pipes, leading to clogs and pressure build-up that can cause leaks. Use a grease container instead.
5. When You Should Call a Professional
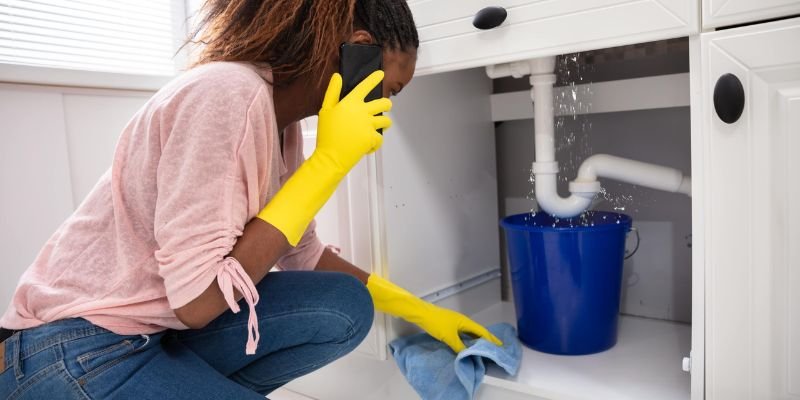
While most cases of a leak under the kitchen sink are DIY-fixable, you should call a plumber if:
- The leak persists after tightening and replacing seals
- Your garbage disposal leaks from inside the motor
- There is visible mold infestation
- The sink drain lines are corroded beyond repair
- There is structural cabinet damage
A professional can also inspect for hidden pipe issues behind the wall.
Final Thought
FAQs
Q.1 Why is my kitchen sink leaking underneath?
Most often due to loose connections, worn-out seals, cracked pipes, or a faulty P-trap.
Q.2 How serious is a leak under the sink?
Very serious if left untreated. It can cause wood rot, mold, and expensive repairs.
Q.3 Can I fix a small leak myself?
Yes. Tightening connections or replacing washers usually solves minor leaks.
Q.4 Should I replace the P-trap myself?
It’s an easy DIY job if you follow instructions and have basic tools.
Q.5 How do I prevent future leaks?
Regular inspections, quality materials, and not overloading your cabinet can prevent future issues.